AirCheck G2 gets a v2
October 3, 2017 3 Comments
It’s no secret that I’m a fan of the Netscout AirCheck G2 and have been since before it’s release. I’m happy to see that today they announced the version 2 of the firmware for the AirCheck G2 which brings some pretty neat features to the product. The official page goes into greater detail on the updates, but the two I’m most impressed with are the new interferers page and the integration of iPerf testing for the unit.
The interference detection is a nice to have feature for those field teams that need an initial look at the non-Wi-Fi devices in the air around them. It’s leveraging the integrated WLAN radio for spectrum analysis so it’s not perfect, but it readily enough identified several of the more common interference devices around me (bluetooth and microwave ovens). In addition to identifying the interference, the ‘locate’ functionality that you’ve come to expect with the AirCheck also works with the source of interference. In my testing, I was able to demonstrate that moving away from an active microwave oven did indeed show a corresponding drop in detected signal strength. Let’s be fair, it’s not a fully blown FFT based Spectrum Analyzer, but in a pinch, and for common items, it’s far more insight than we’ve ever had in a a handheld tester.


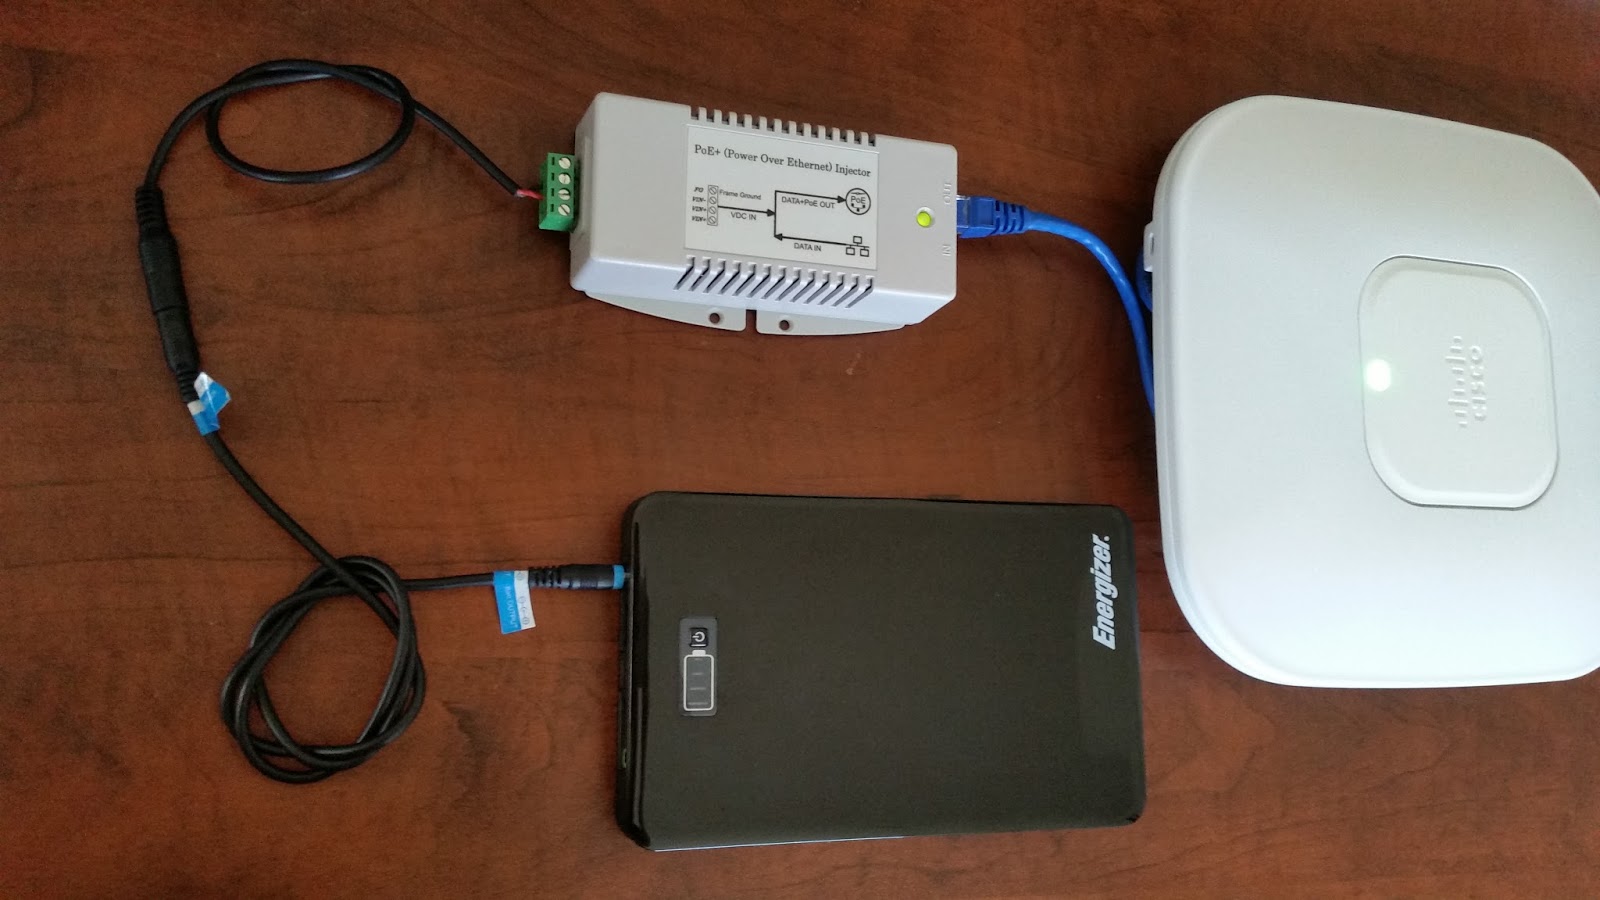
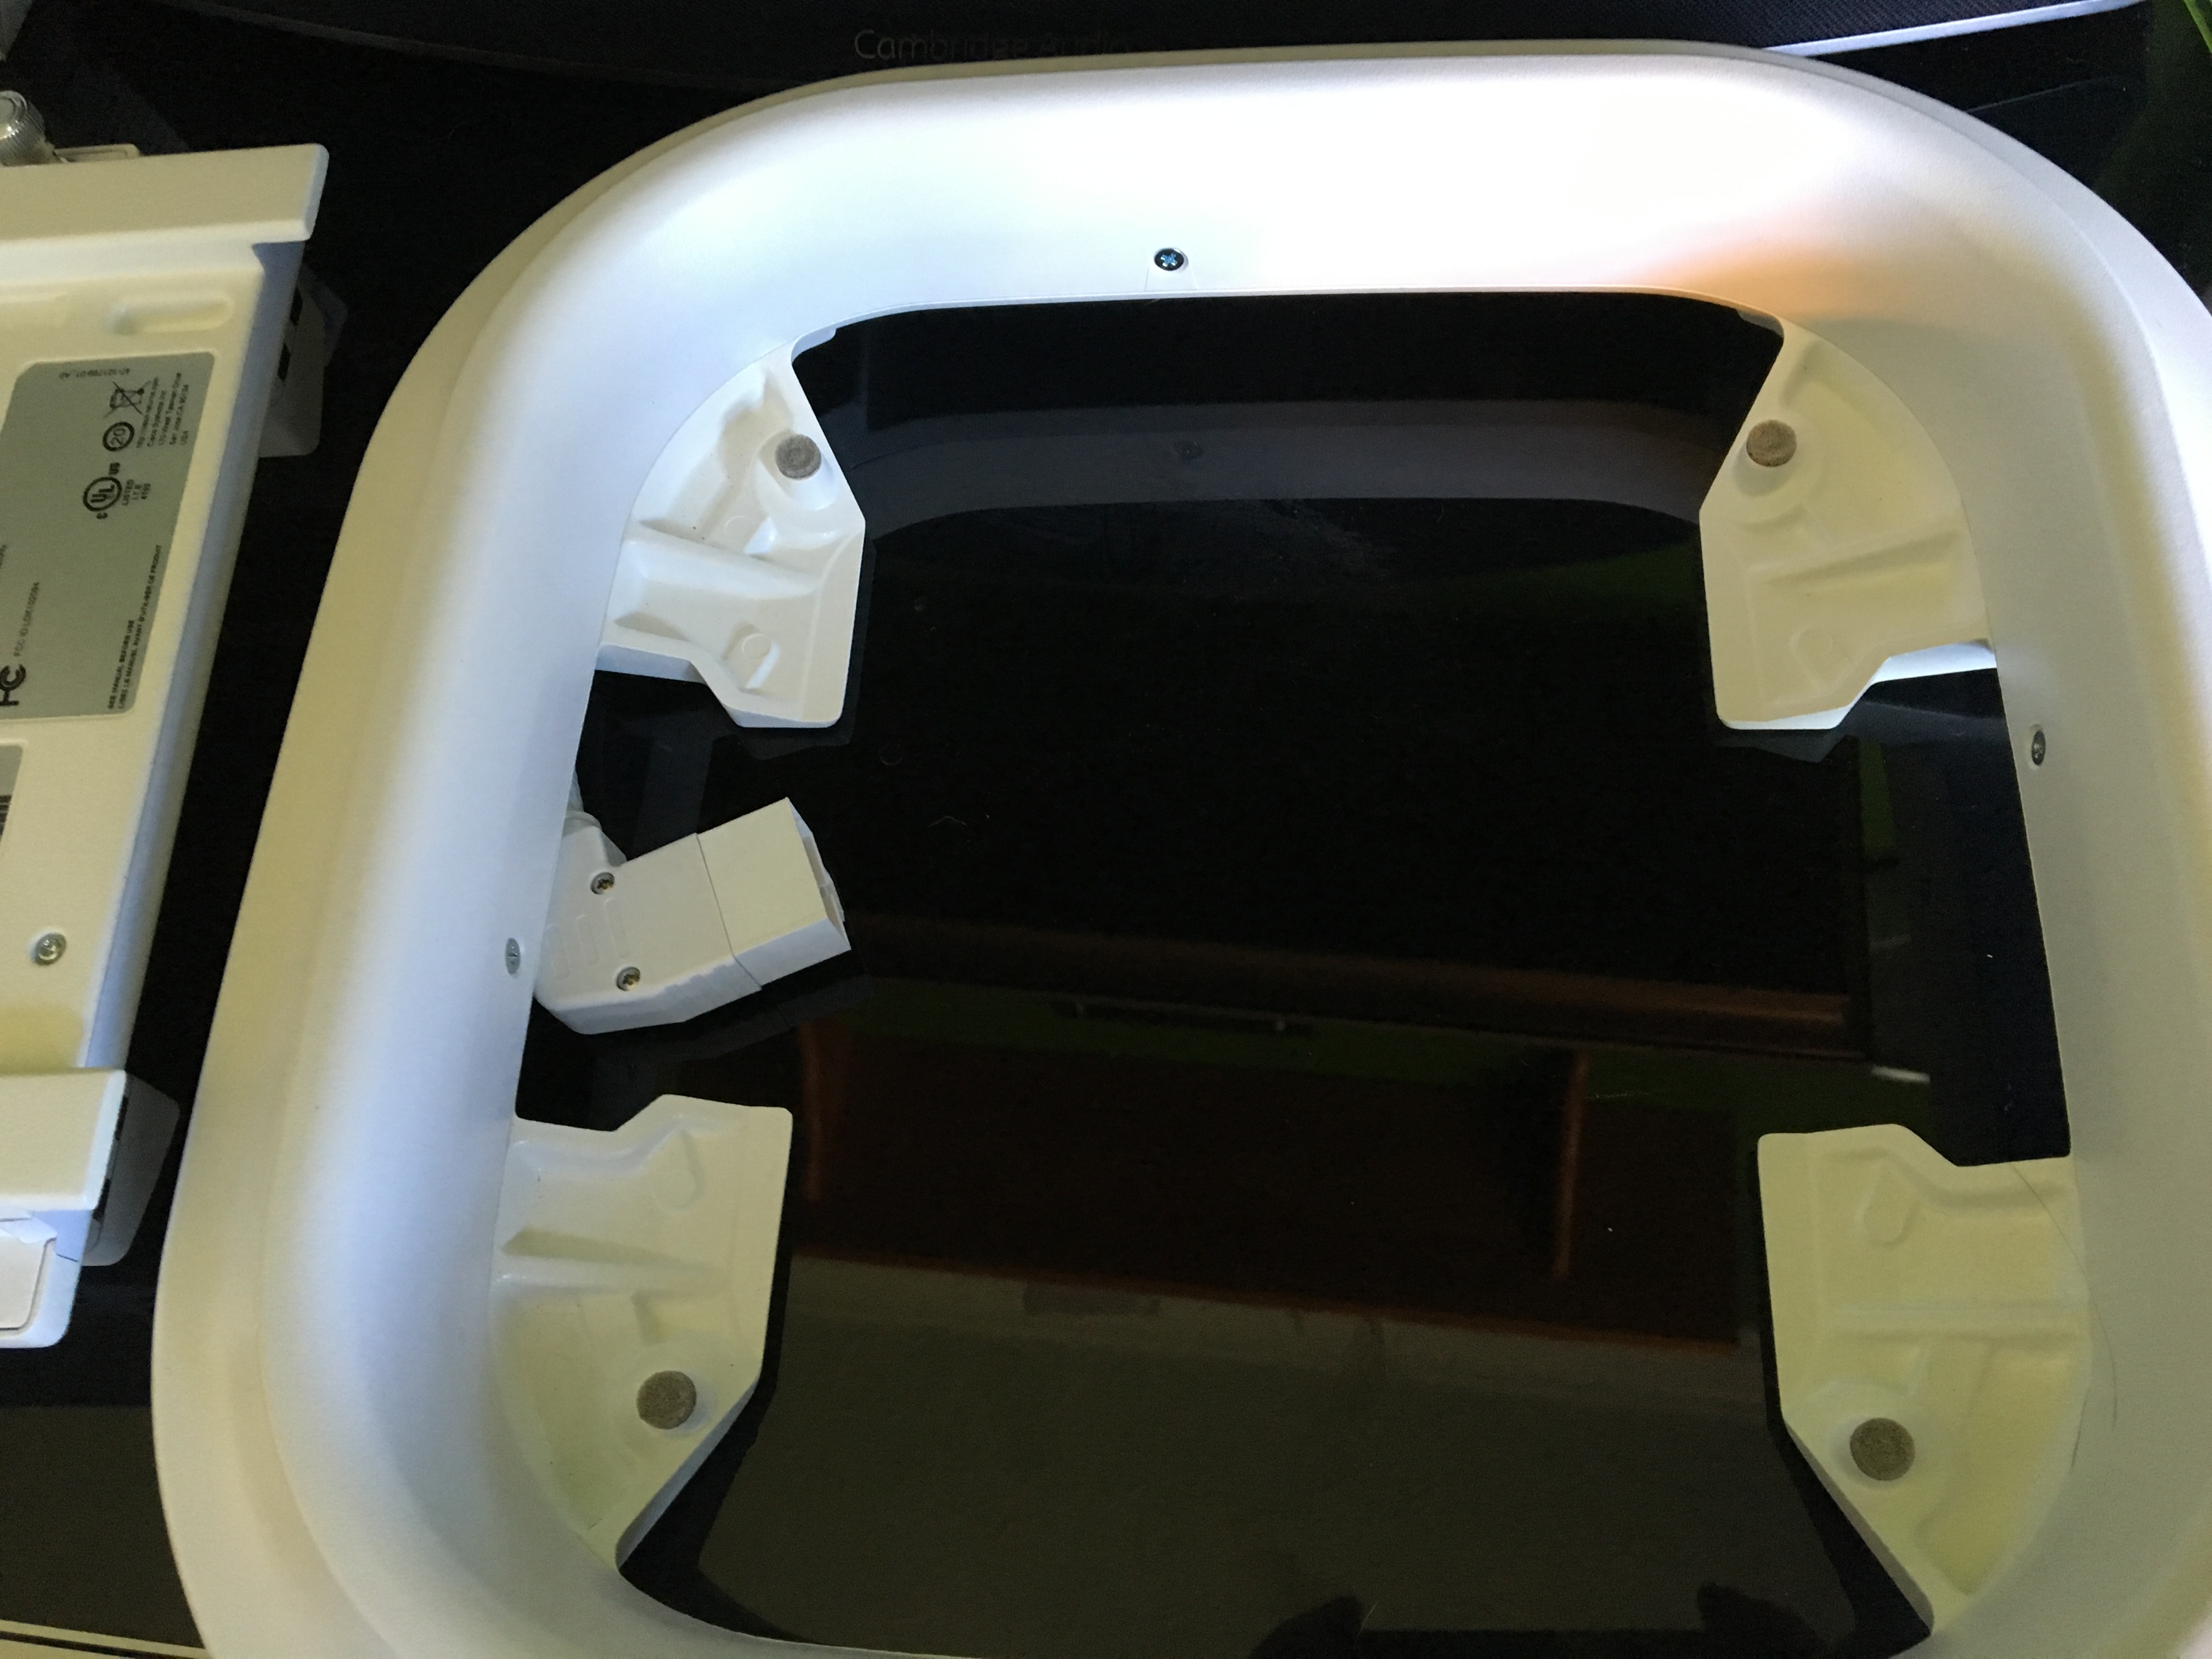
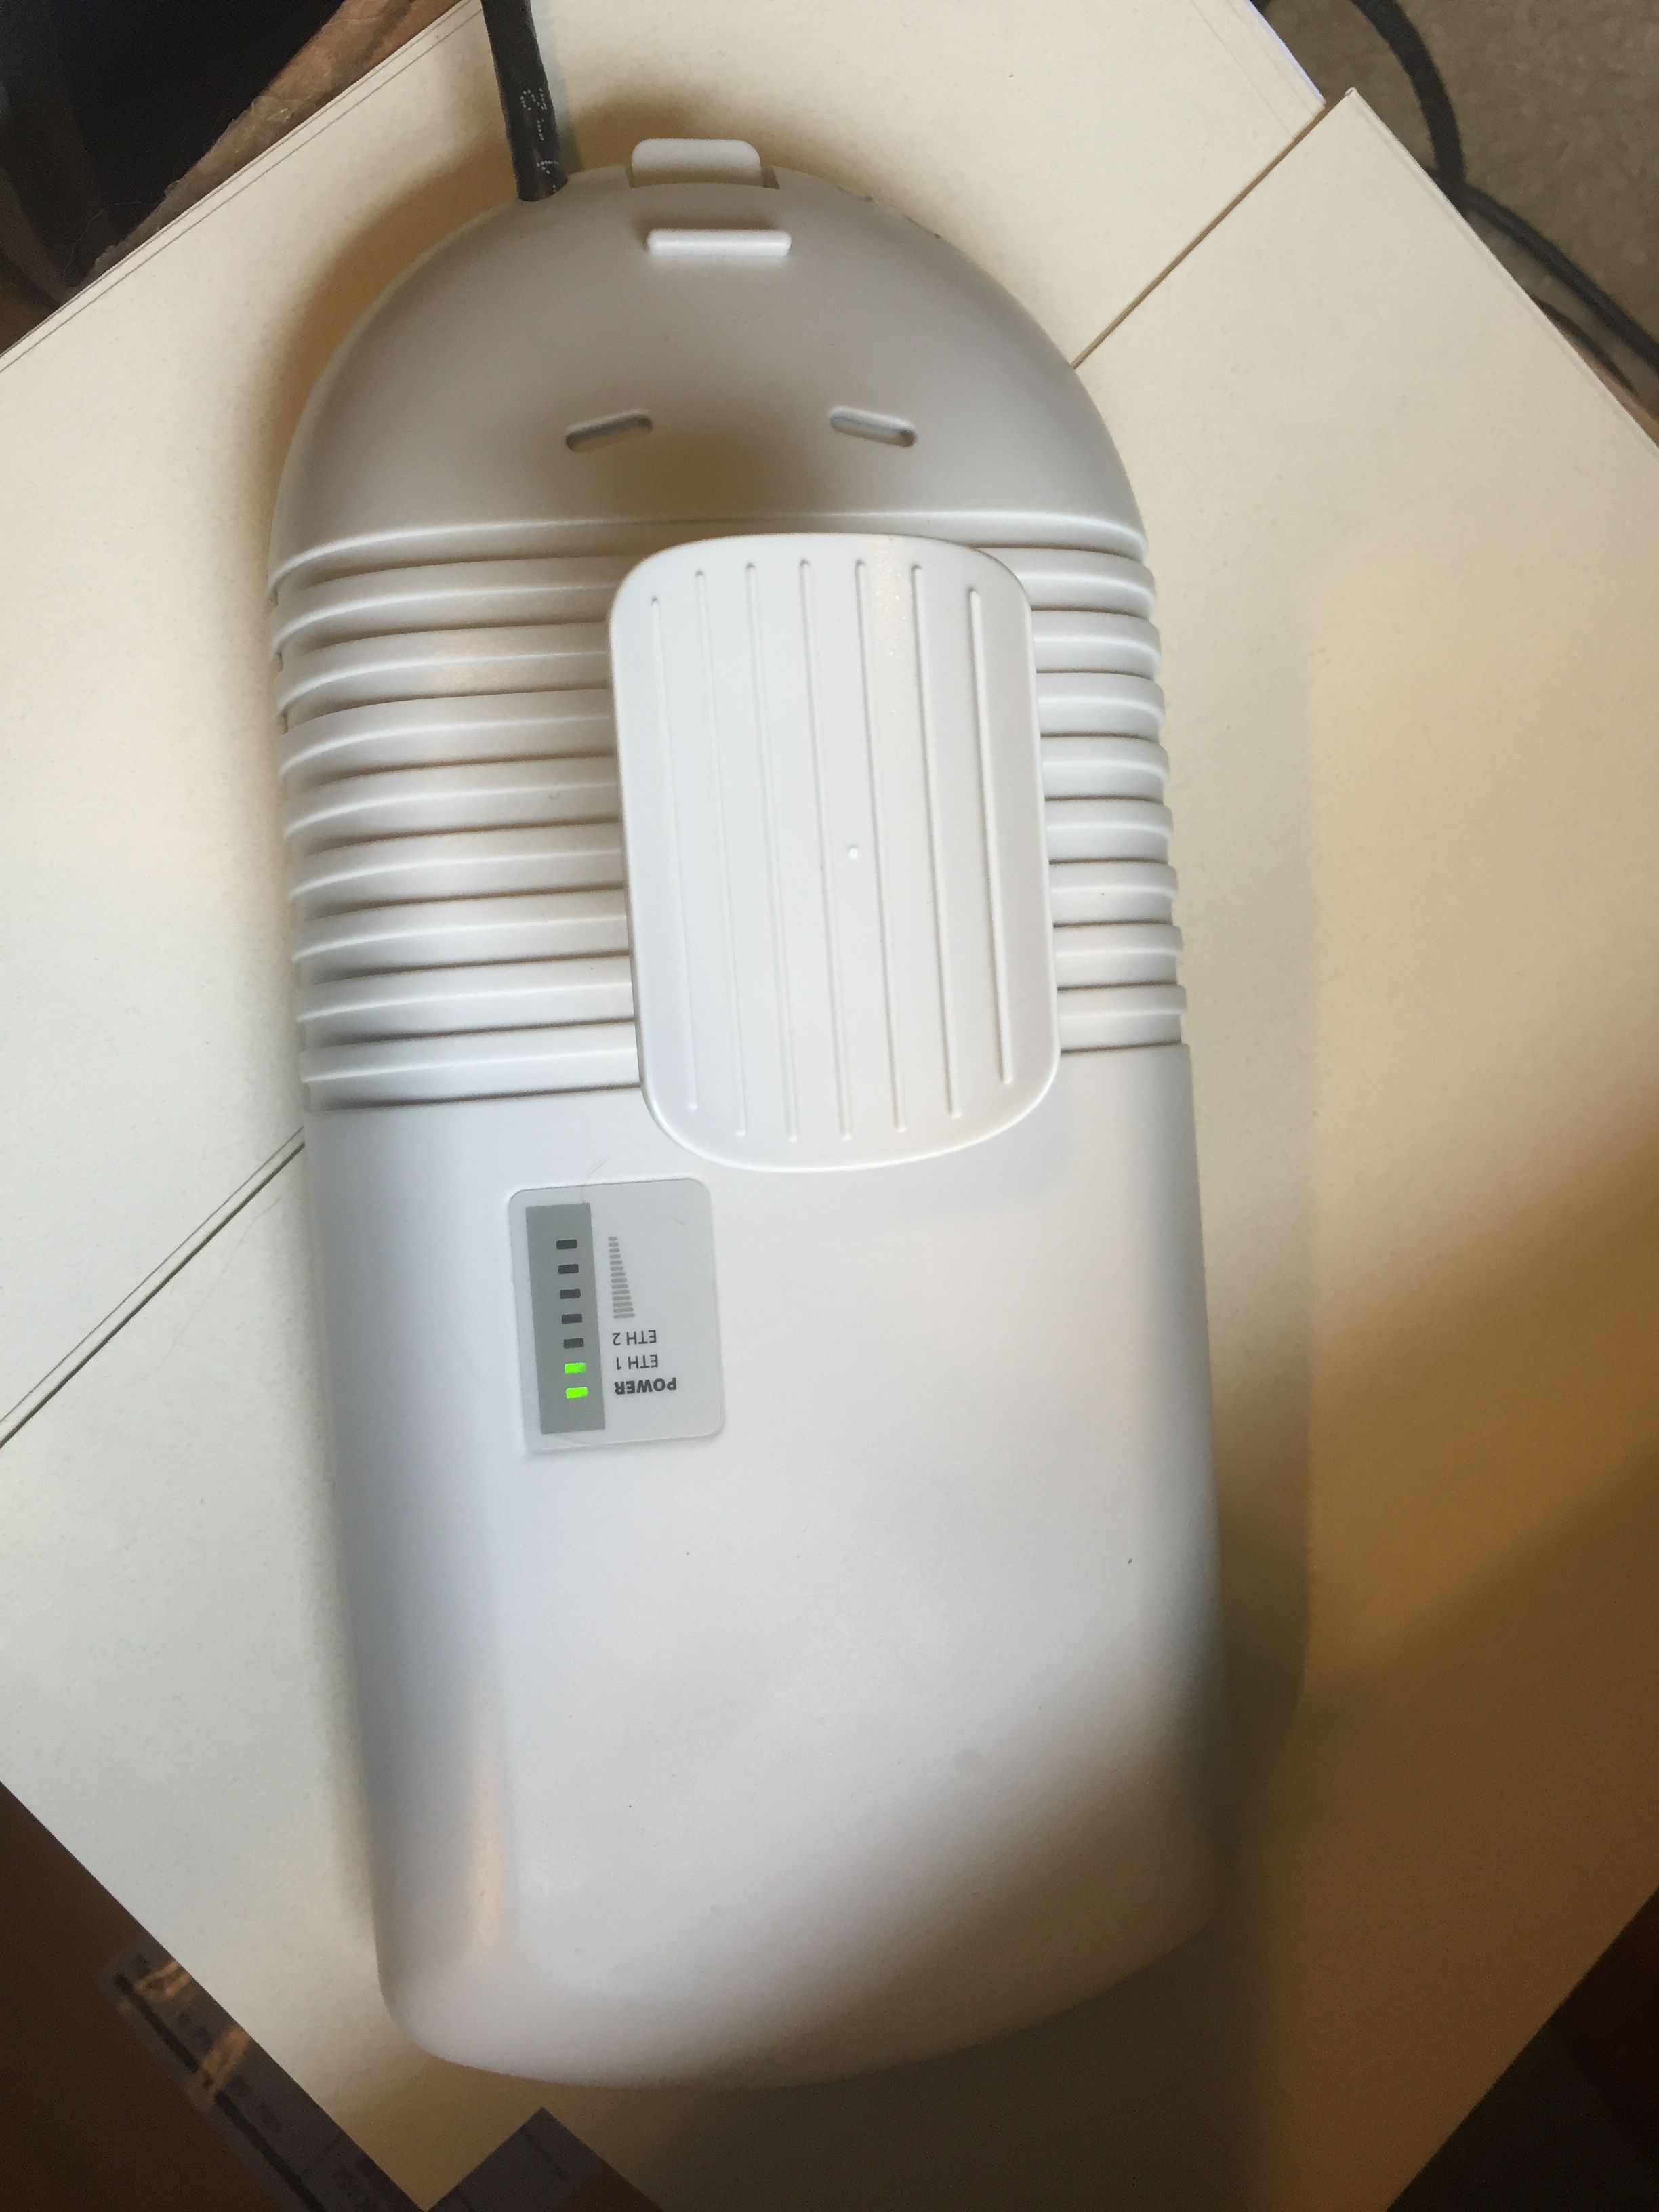
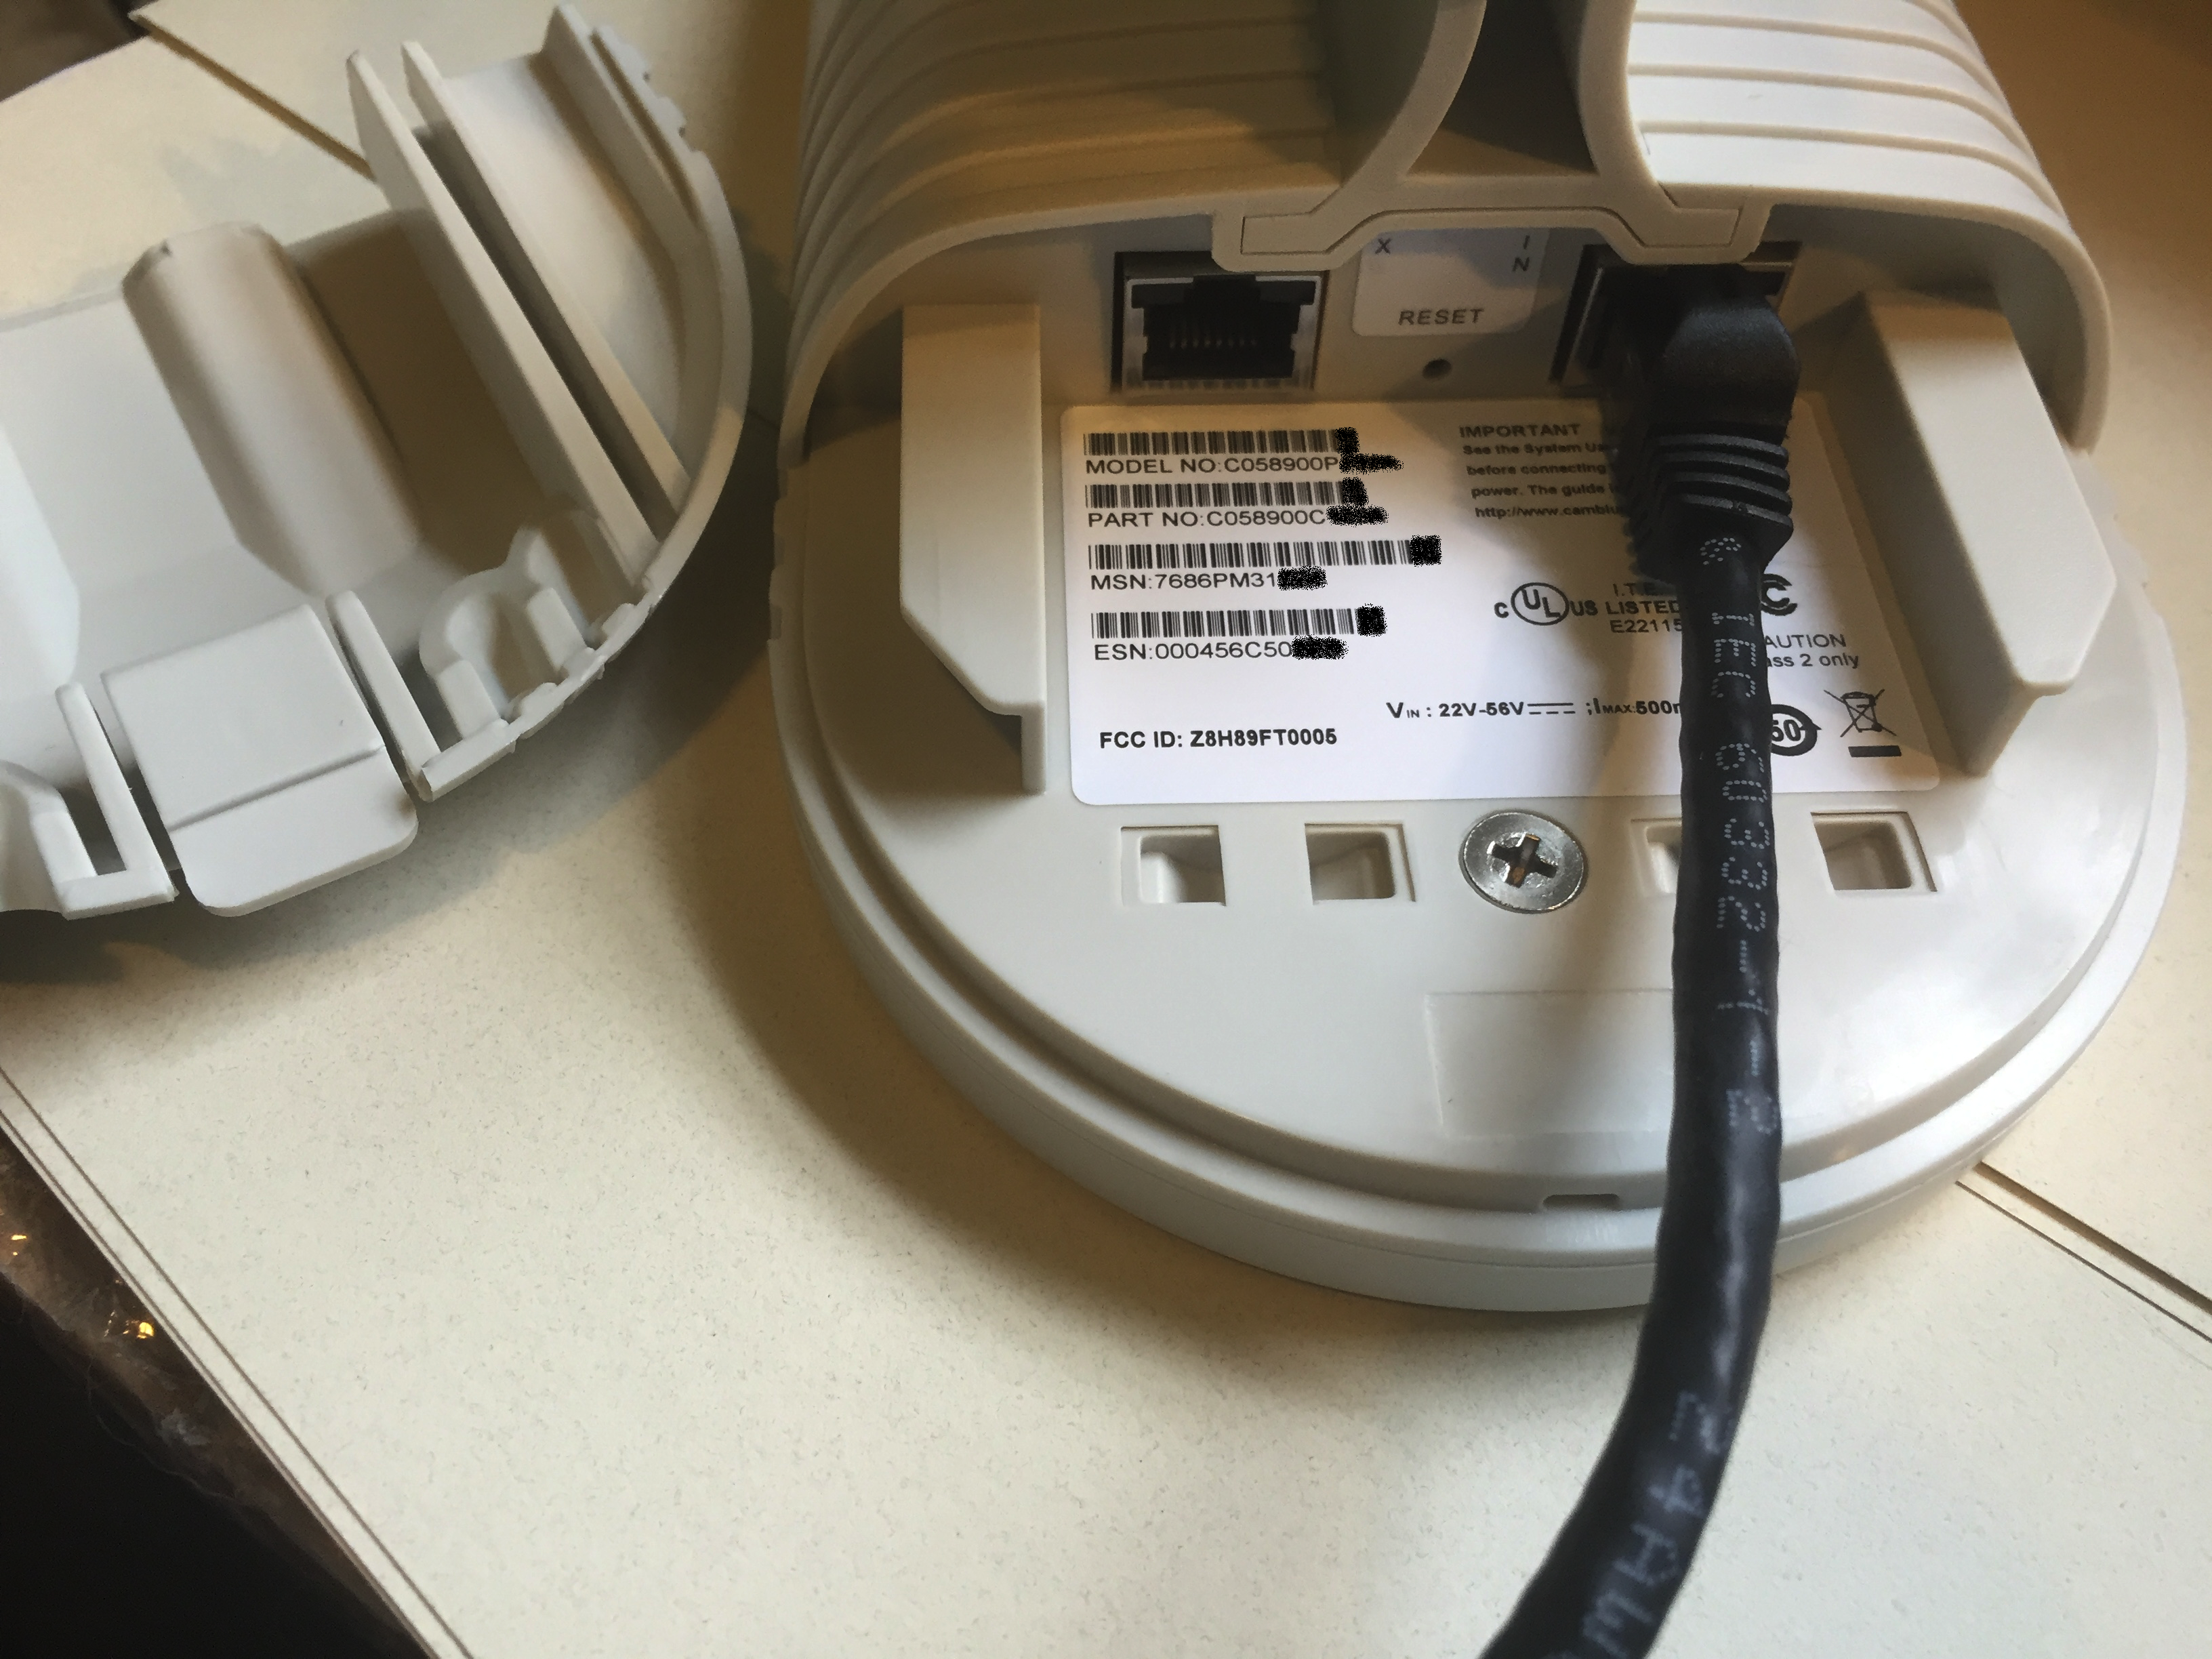
The iPerf server is another interesting new feature – not only for the AirCheck side of the equation, but for the far side tester as well. The newly announced Test Accessory from Netscout is reminiscent of the LinkSprinter products – handheld, portable, battery or PoE powered, and cloud enabled tester.

The Test Accessory
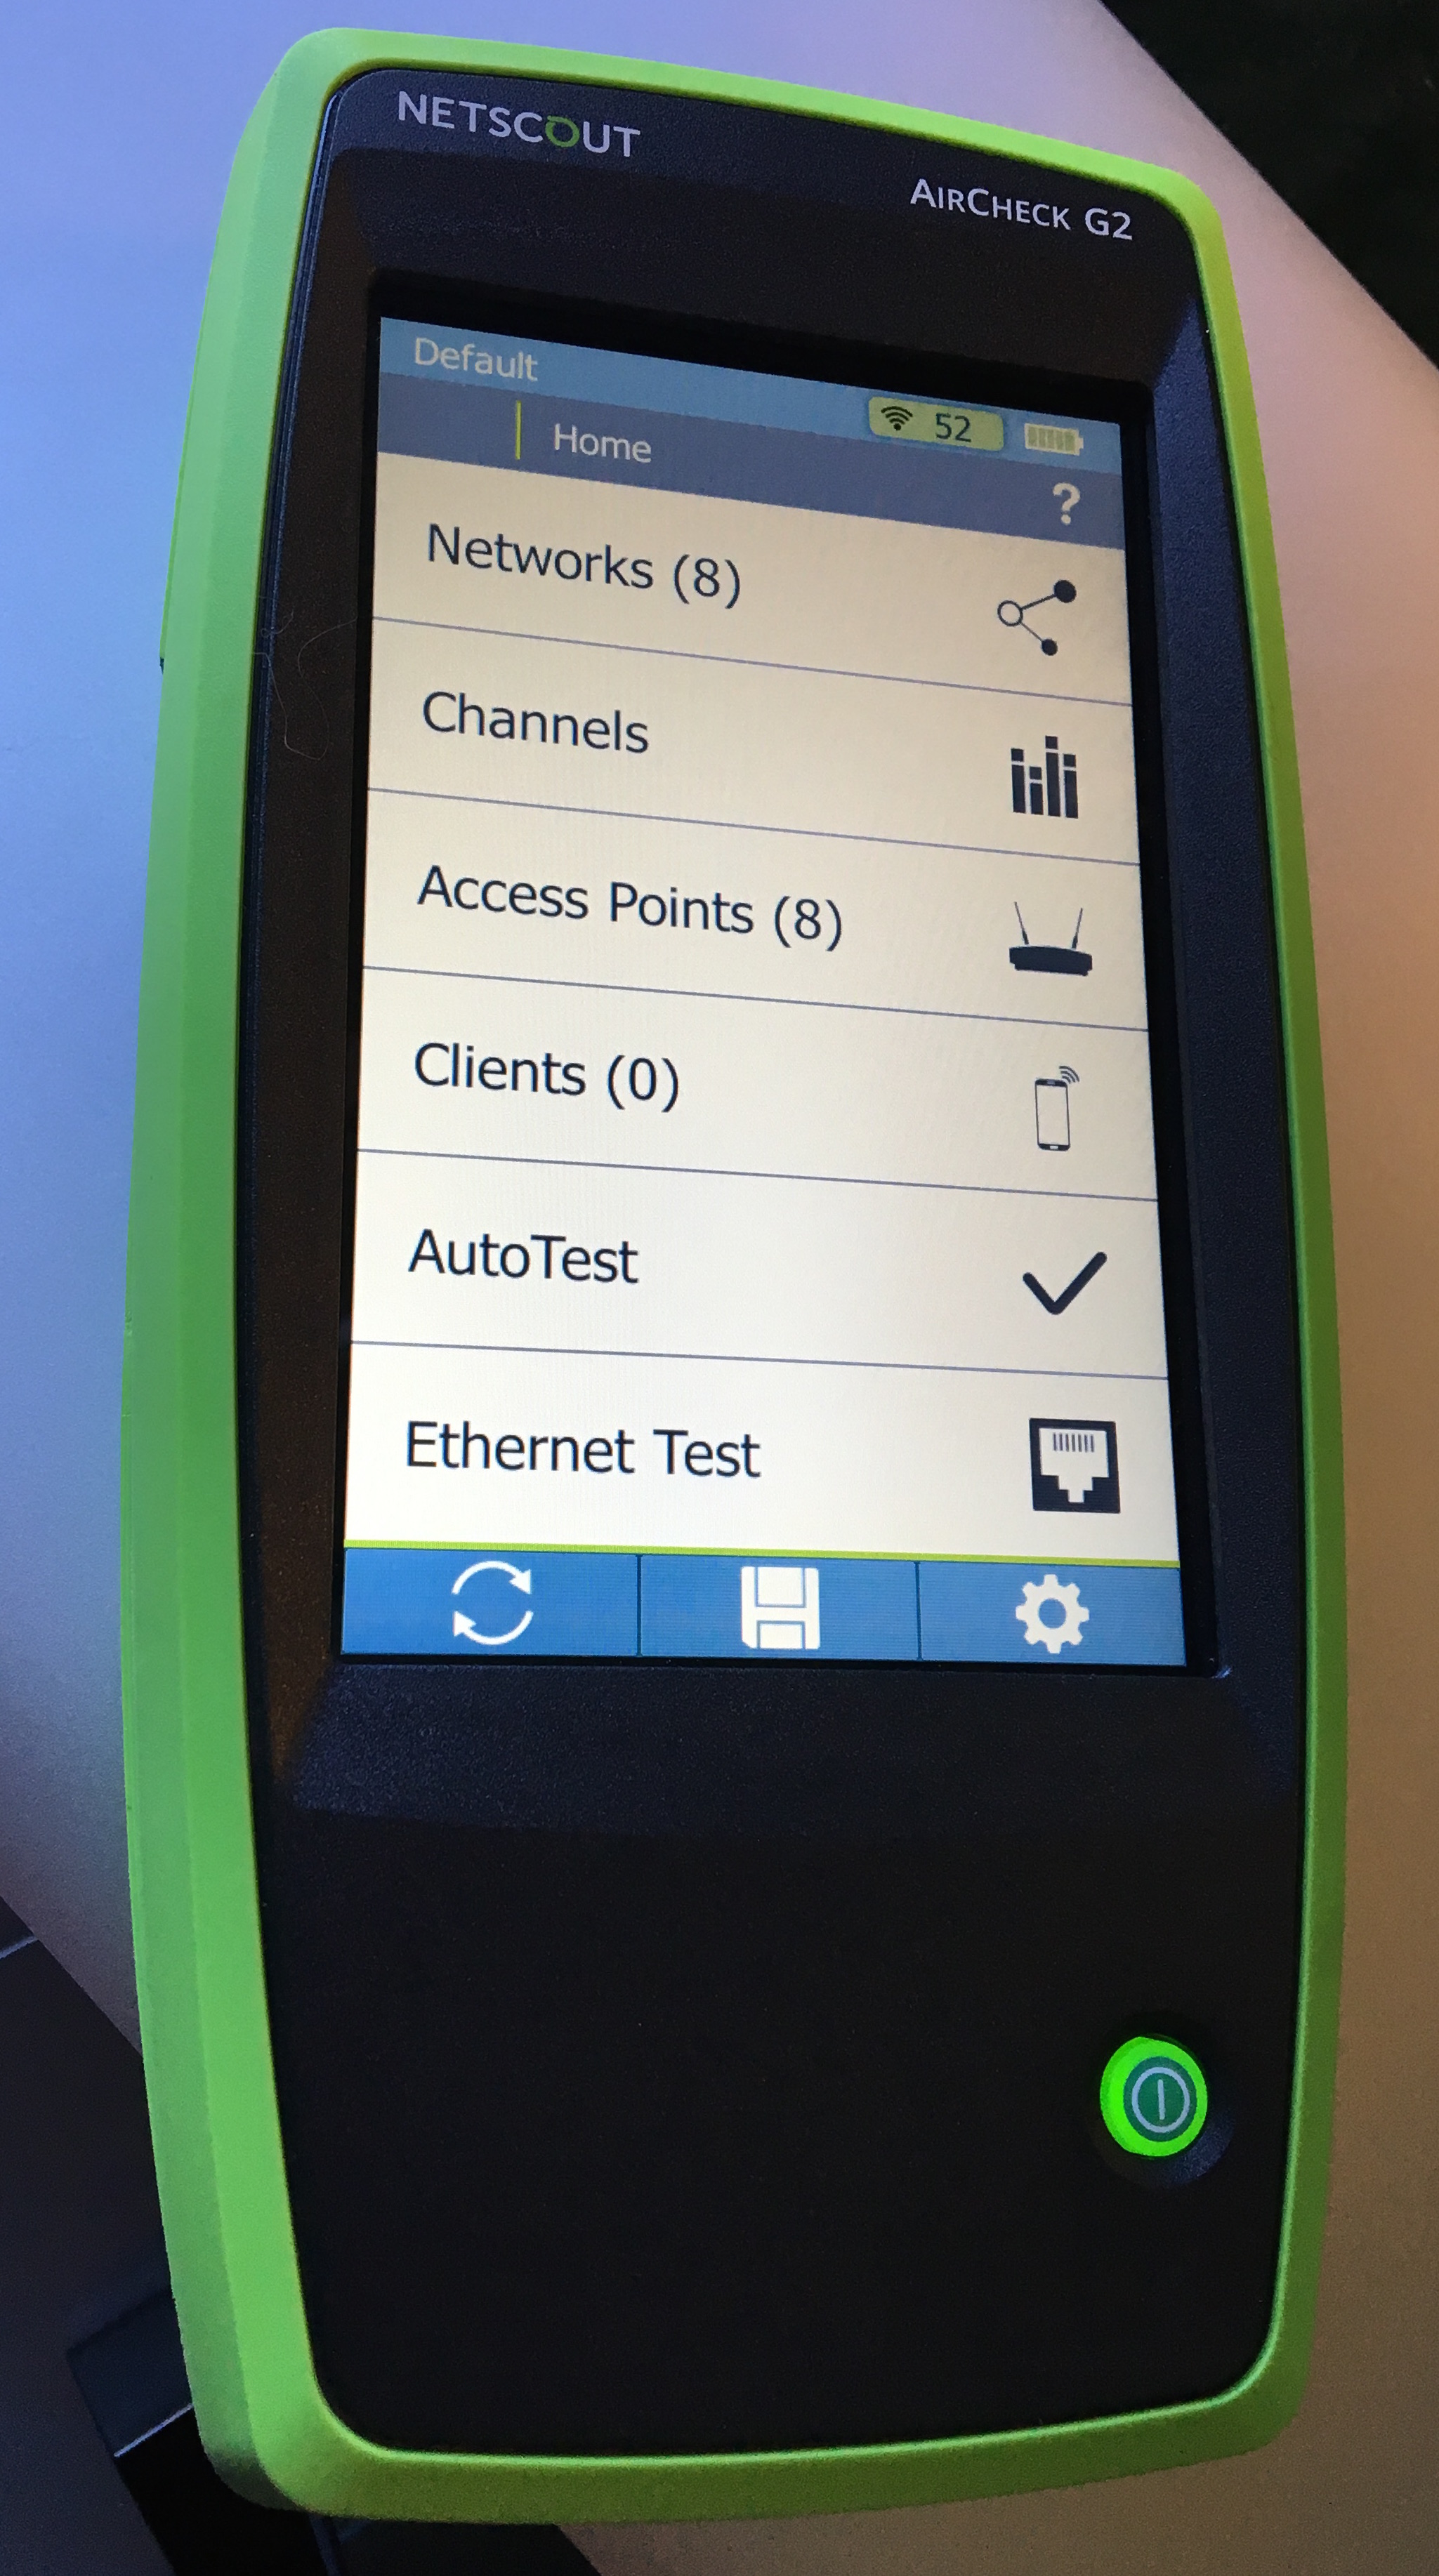
This integrates quite nicely with the v2 firmware with the new iPerf test option once you connect to your SSID. The nice bit is that this removes most all of the headache of doing iPerf testing – configuring the server and figuring out what it’s IP address is. You can plug the Test Accessory into your network anywhere and it will phone home to the Link-Live service. The AirCheck will query the service and automatically populate the testers IP address for your test. This makes a very simple to use throughput tester that’s easy to carry and accessible to everyone. If you don’t have a Test Accessory or if you’re comfortable with iPerf testing, you can also just use the AirCheck as a standard iPerf endpoint, so you’re covered either way you want to go here – with a stock, static internal iPerf tester or with a field accessible, cloud enabled tester that goes anywhere.


These features take an already dead-useful testing tool and expand it’s role for the Wireless LAN deployer to go beyond just ‘is it up’ testing. With the ability to now detect a number of interferers and do actual throughput testing of a Wi-Fi network, the field implications are that your existing installation teams (or other G2 users) can more deeply validate the functionality of a network – and when things go wrong, have another level of insight that they previously did not have. I’m quite happy that Netscout is clearly investing in, not only the G2, but additional products that augment and expand it’s functionality. The G2 is an overbuilt hardware platform and it’s refreshing to see that Netscout is taking advantage of that extra horsepower. If you’re an AirCheck G2 user, you really need to go get the firmware update now. If you’re not an AirCheck G2 user, what are you waiting for?